
To make a floating candle, melt paraffin or beeswax to 170°F, pour into shallow round molds, insert pre-waxed wicks while the wax is semi-solid, allow complete cooling, then test flotation in water. The candle must be wider than it is tall and weigh less than the water it displaces to float properly.
Floating candles transform ordinary water into an illuminated focal point. These small, buoyant candles drift across water surfaces in bowls, pools, or centerpiece vessels, creating ambient light for gatherings, ceremonies, and quiet evenings. The physics behind their flotation requires specific proportions and materials that differ from traditional pillar or container candles.
What Materials Do You Need to Make a Floating Candle?
You need wax (paraffin or beeswax), pre-waxed wicks, shallow round molds, a double boiler, a thermometer, wick holders, and optional dye or fragrance. The essential requirement is selecting a wax with appropriate density and a mold that creates a wide, flat profile for proper buoyancy.
Paraffin wax works best for floating candles because of its lower density and clean burn characteristics. Beeswax also floats effectively, though its higher density requires slightly wider dimensions. The composition and melting behavior of beeswax makes it more challenging to work with but produces naturally golden candles with subtle honey notes.
Wax Selection and Properties
Different wax types affect both flotation and burn quality:
- Paraffin wax: Melts at 130-150°F, density of 0.9 g/cm³, floats easily
- Beeswax: Melts at 144-147°F, density of 0.95 g/cm³, requires wider profile
- Soy wax: Density too high for reliable floating, not recommended
- Palm wax: Irregular crystallization makes floating unpredictable
The wax must be pure without additives that increase density beyond 1.0 g/cm³, as water has a density of 1.0 g/cm³ at room temperature.
| Wax Type | Melting Point | Density | Float Reliability | Burn Time |
|---|---|---|---|---|
| Paraffin | 130-150°F | 0.9 g/cm³ | Excellent | 3-4 hours |
| Beeswax | 144-147°F | 0.95 g/cm³ | Very Good | 4-5 hours |
| Soy | 120-180°F | 0.92-0.96 g/cm³ | Poor | 2-3 hours |
Pre-waxed wicks eliminate the need for priming and ensure immediate ignition when the candle is lit.
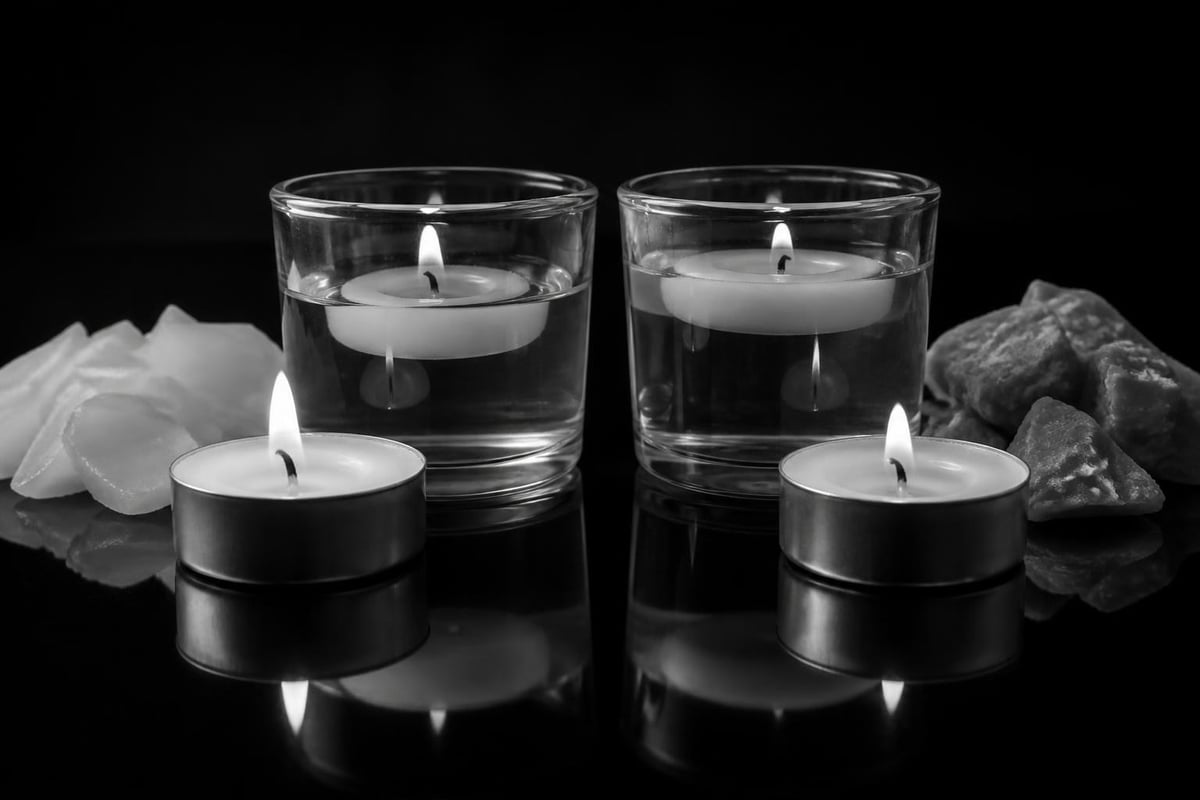
How Do You Choose the Right Mold for Floating Candles?
Choose shallow, round molds between 2-3 inches in diameter and 0.75-1.25 inches deep to create the wide, flat profile necessary for flotation. Metal or silicone molds work best, and the finished candle should have a diameter at least twice its height.
The width-to-height ratio determines whether your candle floats or sinks. A candle that is 3 inches wide and 1 inch tall displaces enough water to support its weight while maintaining stability on the surface. Taller candles become top-heavy and tip over.
Professional candlemakers often use aluminum tart molds, which create perfectly round floating candles with smooth release. Silicone molds offer easier release but may create minor surface imperfections. Avoid deep molds intended for votives or pillars.
What Are the Step-by-Step Instructions for Making Floating Candles?
Follow these numbered steps to create floating candles that burn safely and float reliably:
-
Prepare your workspace: Cover surfaces with newspaper, set up your double boiler, and arrange molds on a level, heat-resistant surface.
-
Measure wax: Calculate wax volume by filling molds with water, measuring the water, then using 90% of that volume in wax (wax is less dense than water).
-
Melt wax: Heat wax in a double boiler to 170°F for paraffin or 175°F for beeswax, stirring occasionally for even melting.
-
Add color or fragrance (optional): If using dye, add chips when wax reaches temperature. For fragrance, wait until wax cools to 160°F before adding oils at 6-8% by weight. When working with fragrance oils in homemade candles, consult IFRA labelling guidance to ensure safe use and proper ingredient handling.
-
Pour wax: Fill molds to within 1/8 inch of the rim. Pour slowly to prevent air bubbles.
-
Insert wicks: When wax forms a thin skin but remains soft (usually 10-15 minutes), insert pre-waxed wicks into the center. Use wick holders or small clips to keep wicks centered and vertical.
-
Allow cooling: Let candles cool completely at room temperature for 4-6 hours. Rapid cooling creates surface cracks.
-
Remove from molds: Once fully hardened, gently press the bottom of metal molds to release candles. Silicone molds can be peeled away.
-
Trim wicks: Cut wicks to 1/4 inch above the wax surface for optimal burning.
-
Test flotation: Place candles in a bowl of water to verify they float level and stable before use.
The cooling process cannot be rushed. Placing molds in refrigerators or freezers creates internal stress fractures that weaken the candle structure.
How Do You Ensure Proper Wick Placement and Size?
Use wicks rated for 2-3 inch diameter candles and insert them when wax temperature drops to 140-145°F. The wick must be centered both horizontally and vertically, extending through at least 80% of the candle depth for complete burning.
Wick size directly affects burn quality and safety. Too small a wick creates a narrow melt pool that drowns the flame. Too large a wick produces excessive smoke and uneven burning. For floating candles between 2-3 inches wide, use medium cotton wicks or appropriately sized wooden wicks.
The elements of a candle include proper wick selection based on candle diameter, wax type, and any added fragrance. The National Candle Association provides detailed guidance on matching wick sizes to specific candle dimensions.
Wick Placement Technique
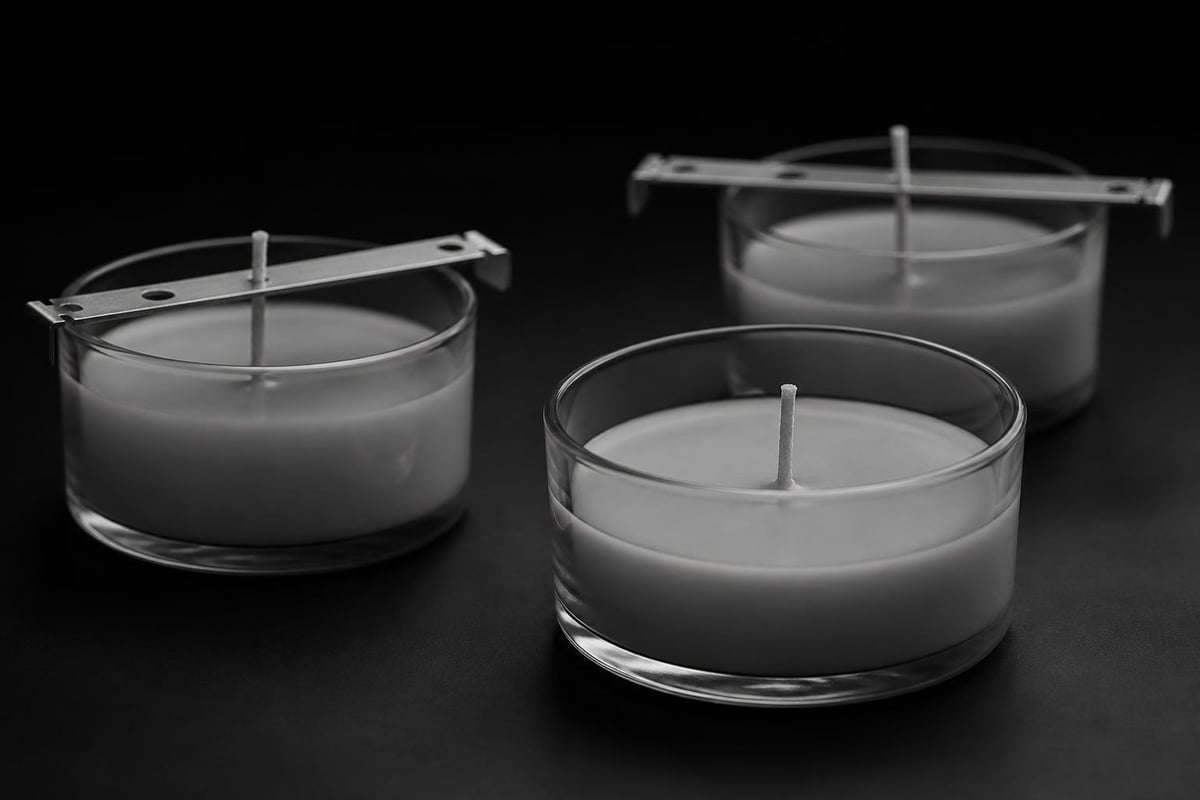
Insert wicks when wax has cooled enough to hold the wick in place but remains pliable. This typically occurs 10-20 minutes after pouring, depending on room temperature. Push the wick tab to the mold bottom using a skewer or similar tool, then secure the top with a wick holder balanced across the mold opening.
If you insert wicks too early, they may tilt as wax continues to settle. Too late, and you risk cracking the wax surface or creating gaps around the wick that allow water seepage during floating.
What Safety Precautions Should You Follow When Making Floating Candles?
Monitor wax temperature constantly, never leave melting wax unattended, work in a ventilated area, keep water away from hot wax, and maintain a fire extinguisher nearby. Wax can ignite if heated above its flash point, typically 400°F for paraffin.
The National Fire Protection Association provides essential candle safety guidance covering both manufacturing and use. Water introduced to wax above 212°F causes violent spattering and potential ignition.
Manufacturing Safety
- Use a thermometer dedicated to candle making to prevent cross-contamination
- Keep a metal lid nearby to smother small wax fires (never use water)
- Wear heat-resistant gloves when handling hot molds or pouring vessels
- Protect skin from wax burns by covering arms and wearing closed-toe shoes
- Ensure adequate ventilation to disperse fumes from melting wax
Usage Safety
Once you know how to make a floating candle, understanding safe use becomes equally important. Float candles only in non-flammable containers with adequate water depth (at least 2 inches). The US Fire Administration recommends specific precautions for candle use in homes and event spaces, including maintaining clearance from combustible materials.
Never leave floating candles unattended, especially in venues where they might be accidentally tipped. Place water vessels on stable, level surfaces away from drafts that might carry flame toward decorative elements.
How Do You Add Color and Scent to Floating Candles?
Add dye chips or liquid candle dye at 0.1-0.3% by weight when wax reaches full temperature, and add fragrance oils at 6-8% by weight when wax cools to 160°F. Both additions must account for density changes that affect flotation.
Color requires minimal material and rarely impacts buoyancy. Fragrance oils, however, add measurable weight. If you add fragrance at the higher end of the recommended range, consider increasing candle diameter by 1/4 inch to maintain reliable floating.
Botanical scents crafted from plant and resin extracts offer an alternative to synthetic fragrance oils. For those in Manhattan seeking naturally scented candles, Haus of Smell creates botanical candles using real plant extracts rather than synthetic compounds, hand-poured in NoMad with vegan wax formulations.
Fragrance Integration Tips
- Stir fragrance oils gently for 2 minutes to ensure even distribution
- Allow scented wax to cool an additional 5 minutes before pouring to prevent fragrance evaporation
- Test flotation after adding fragrance, as some oils are denser than others
- Keep fragrance percentage below 10% to avoid flotation problems
- Store scented floating candles wrapped to preserve aroma until use
Natural fragrances behave differently than synthetic alternatives in wax. They may accelerate cooling or create slight color shifts depending on botanical composition.
What Are Common Problems When Making Floating Candles and How Do You Fix Them?
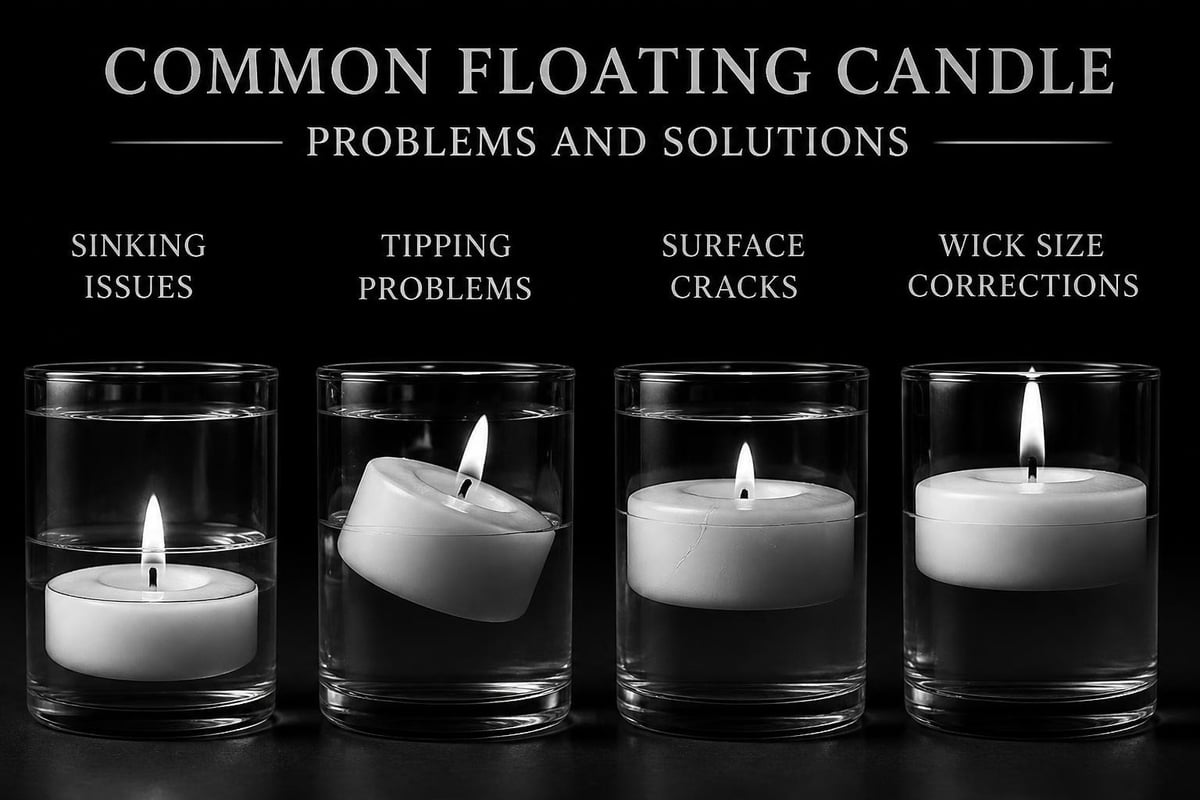
Floating candles sink when they are too tall, too heavy, or made with dense wax. They tip over when wicks are off-center or the candle profile is too narrow. Surface cracks appear when cooling happens too quickly or unevenly.
Sinking candles: Remake using a wider, shallower mold or switch to lower-density wax. Test by calculating the candle volume and weight, ensuring total weight is less than the weight of water it would displace.
Tipping candles: Verify wick placement is perfectly centered. If the finished candle tips, it may be too tall relative to width. The ideal ratio maintains a center of gravity below the waterline.
Cracked surfaces: Allow slower cooling at room temperature. Avoid moving molds during the first 2 hours of cooling. Minor surface cracks can be smoothed by gently heating the candle surface with a heat gun.
Uneven burning: Wick size mismatch for candle diameter. Replace with appropriately sized wick or adjust candle dimensions in future batches.
Frosting (white crystalline appearance): Normal for paraffin candles, caused by temperature fluctuations. Prevent by maintaining consistent room temperature during cooling or embrace as a natural characteristic.
| Problem | Cause | Solution |
|---|---|---|
| Candle sinks | Too dense or tall | Wider mold, lower-density wax |
| Candle tips | Off-center wick | Improve wick centering technique |
| Surface cracks | Rapid cooling | Slow, room-temperature cooling |
| Won't light | Wick too small | Use larger wick size |
| Excessive smoke | Wick too large | Use smaller wick size |
How Do You Test and Store Finished Floating Candles?
Test each floating candle in room-temperature water before use, checking for level floating, stability when gently disturbed, and water resistance at the wick opening. Store finished candles in a cool, dark place wrapped individually to prevent surface damage and scent degradation.
Fill a wide bowl with water at least 3 inches deep and carefully place the candle on the surface. It should float with the top surface just above the waterline and remain level without tilting. Gently push the candle to one side and release it should return to a stable position rather than continuing to spin or tip.
Inspect the wick area for water seepage. A properly sealed wick opening prevents water from entering the wax body, which would add weight and eventually cause sinking during use. If water enters around the wick, the wick was likely inserted after the wax had fully hardened, creating gaps.
Storage Recommendations
- Wrap candles individually in tissue paper or bubble wrap
- Store in boxes with dividers to prevent contact and surface scratches
- Maintain storage temperature between 60-75°F to prevent warping
- Keep away from direct sunlight, which fades colors and softens wax
- Stack no more than two layers to avoid compression damage
- Use within 12 months for best scent retention (if fragranced)
How Do Floating Candles Compare to Traditional Candles for Events?
Floating candles create visual impact in water features and centerpieces but require more setup and maintenance than traditional candles. They burn for 3-5 hours depending on size, offer unique aesthetic possibilities, but demand careful monitoring to prevent tipping or water contamination.
Event planners choose floating candles for their distinctive appearance and versatility in transparent vessels. A single large glass bowl with multiple floating candles creates more visual interest than the same number of pillar candles, especially when combined with flower petals, stones, or other decorative elements in the water.
However, floating candles require water replacement between uses if debris accumulates, more careful transport to prevent water spills, and attention to water depth to ensure proper flotation throughout the burn time (water levels drop slightly from evaporation).
What Regulations Apply to Selling Homemade Floating Candles?
Commercially sold candles must meet ASTM F2417 fire-safety specifications, carry appropriate warning labels, and comply with state and local business licensing requirements. Even small-scale sales from home require proper labeling of ingredients and adherence to consumer product safety standards.
The ASTM F2417 standard covers fire-safety requirements for candles, including burn-rate testing, flame-height limits, and secondary ignition prevention. While home crafters making candles for personal use need not comply with commercial standards, anyone selling candles assumes liability for product safety.
Most states require candle sellers to register their business, collect sales tax, and maintain product liability insurance. Labels must include the business name and address, net weight, and safety warnings. Some jurisdictions mandate specific warning language about fire risk and supervision requirements.
For those exploring the craft of scent and candle making in New York, understanding both the creative and regulatory aspects ensures responsible production. Learning how to make a floating candle at home differs significantly from preparing them for commercial sale.
FAQ
Can you use soy wax to make floating candles?
Soy wax floats poorly due to its density approaching water's density and irregular cooling properties. While technically possible with very wide, shallow molds, soy wax floating candles often tip or sink after brief burning. Paraffin and beeswax deliver far more reliable results for floating applications and consistent performance.
How long do floating candles burn?
Floating candles typically burn 3-5 hours depending on diameter and wax type. A 3-inch diameter paraffin floating candle burns approximately 4 hours, while beeswax versions burn slightly longer. Burn time decreases with smaller diameters and increases with candle thickness, though very thick candles may compromise flotation stability.
Why do some floating candles sink after burning for a while?
Candles sink during burning when water enters through gaps around the wick, the candle becomes too thin to displace adequate water, or uneven burning creates an off-balance weight distribution. Proper wick sealing and appropriate candle dimensions prevent sinking. Test new designs thoroughly before use at events or gatherings.
Can you add dried flowers to floating candles?
Dried flowers added to wax during pouring create embedded decoration but add weight that may affect flotation. Keep additions minimal (under 5% by volume) and test each candle before use. Flowers on the candle surface pose fire risks. For safety, place flowers in water around floating candles rather than embedding them.
What water depth do floating candles need?
Floating candles need minimum 2 inches of water depth for safe operation and adequate clearance from the vessel bottom. Deeper water (3-4 inches) provides better stability and allows the candle to settle naturally. Shallow water causes bottom contact as the candle burns down, creating fire risk from heat transfer to the container.
How far in advance can you make floating candles?
Make floating candles up to 6 months before use if stored properly in cool, dark conditions. Unscented candles remain stable indefinitely, while scented versions lose fragrance potency after 12 months. Wrap individually, avoid temperature extremes, and test flotation before use if candles have been stored longer than 3 months.
Learning how to make a floating candle combines physics, craft technique, and attention to detail that transforms simple wax into an ambient lighting element. The process rewards patience during cooling and precision in wick placement with reliable, beautiful candles that elevate any water feature.
For those in Manhattan seeking naturally scented, handcrafted candles without the trial of home production, explore botanical options made with plant extracts and vegan wax formulations. Whether you are crafting your own floating candles or discovering ready-made botanical alternatives, the intersection of scent and light creates spaces worth inhabiting. Visit Haus of Smell to experience candles hand-poured in NoMad using only natural ingredients.